Thursday, November 7, 2024
Creating a perfect 12x16 storage shed: a beginner's how-to

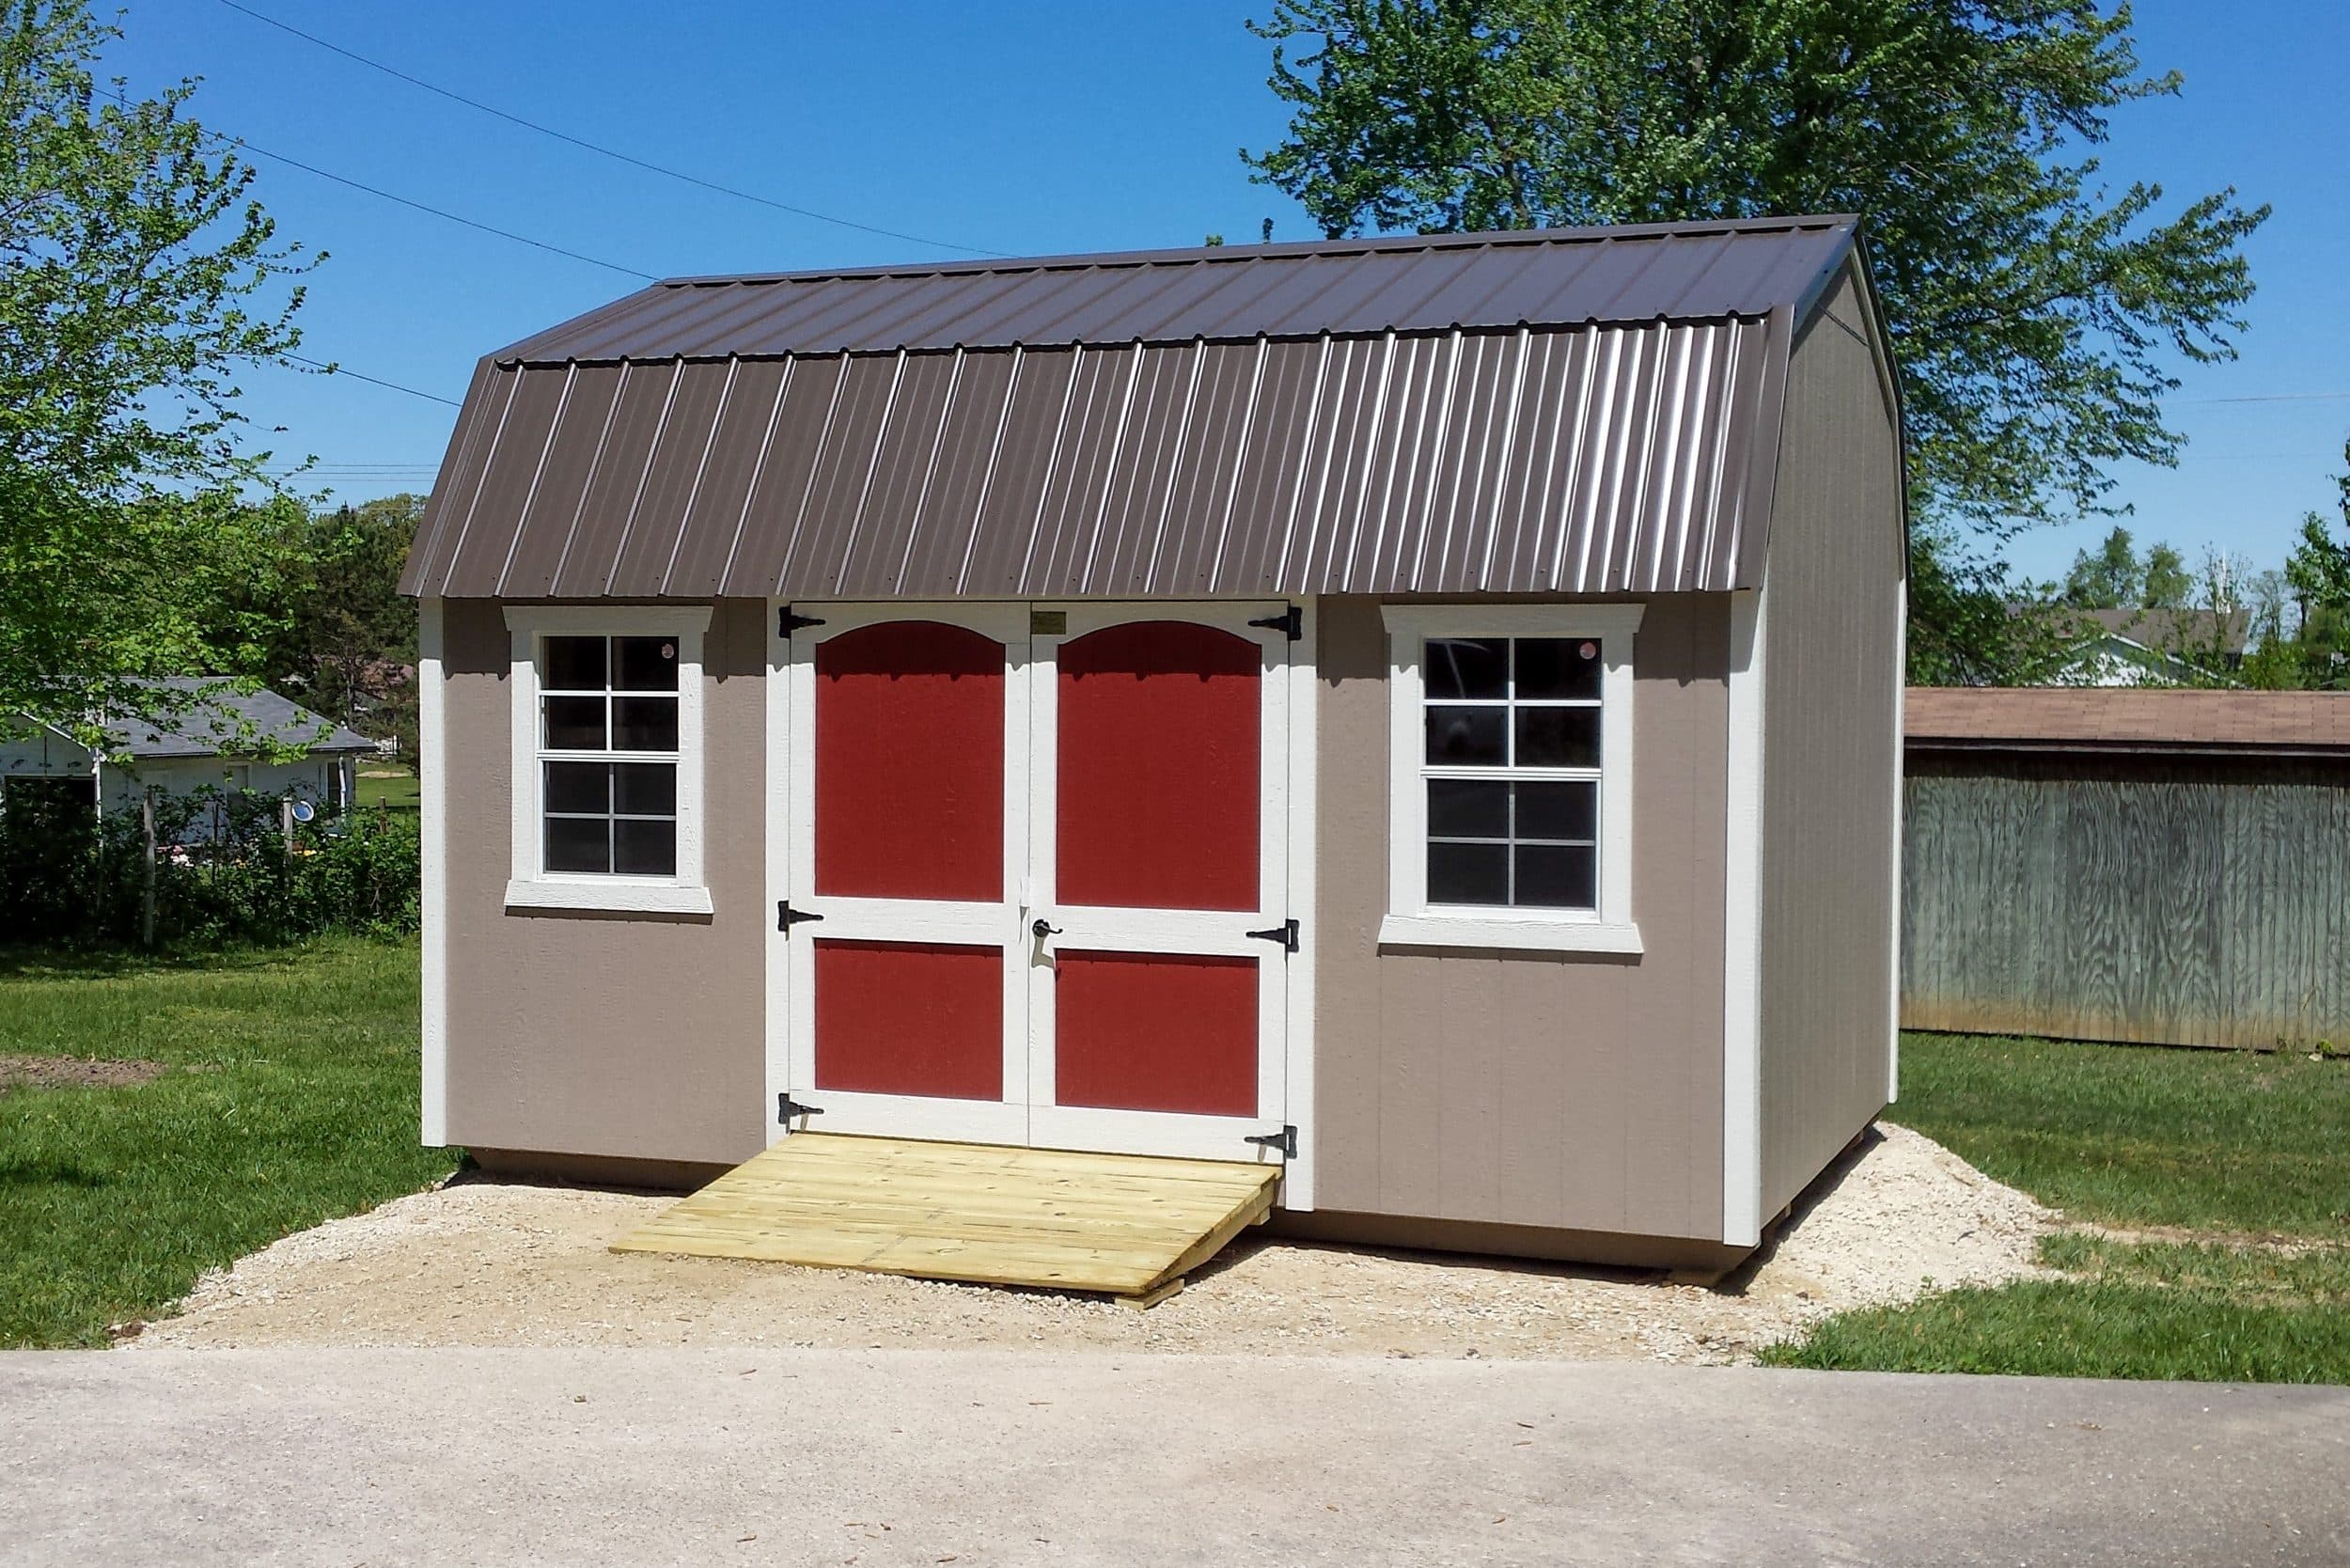
Alright, you've decided you need a shed. Maybe your garage is bursting at the seams, or you just want a dedicated space for your hobbies. Whatever the reason, a 12x16 shed is a great starting point â€" enough room for all your stuff, but not so big it'll take over your entire backyard.
Building a shed from scratch might seem daunting, but trust me, it's way more manageable than you think. This isn't about becoming a master carpenter overnight; it's about taking it step by step and enjoying the process. Think of it as a fun DIY adventure that'll end with a super-useful addition to your property.
Let's Break it Down: The Basics
Before we dive into the nitty-gritty, let's outline the key ingredients for your shed project.
Plans: These are your blueprints, guiding you through each stage of the build. You can find free plans online, purchase pre-designed ones, or even create your own.
Materials: This includes everything from the lumber and plywood to the roofing shingles and fasteners. A well-organized list saves you trips back and forth to the lumberyard.
Tools: You'll need the essentials â€" a circular saw, hammer, drill, level, tape measure, and more.
Safety Gear: Safety first! Goggles, gloves, ear protection, and a sturdy work boot are must-haves.
Step 1: The Foundation - Your Shed's Solid Base
The foundation is the bedrock of your shed, literally. A strong foundation ensures your shed stays level and stable for years to come. Here are your options:
Concrete Slab: This is the most durable and long-lasting option. It requires some concrete mixing and formwork, but it's a solid investment.
Concrete Piers: These are individual concrete blocks that support the shed's frame. They're less expensive than a slab, but they might not be as sturdy in heavy weather.
Pressure-Treated Wood: This option is affordable and easy to install, but it may require more maintenance. You'll need to level the wood blocks and use gravel for drainage.
Step 2: Framing - Building the Skeleton
Now it's time to create the framework that will hold your shed walls and roof. This is where the plans come in handy!
Wall Framing: You'll build the walls using studs spaced 16 inches apart. Remember to include door and window openings in your plan.
Roof Framing: The roof is supported by rafters and trusses. You'll need to decide between a simple gable roof or a more elaborate style.
Floor Framing: This is usually made of joists, supported by beams. Make sure the floor is strong enough to handle your shed's intended use.
Step 3: Sheathing - Wrapping the Framework
The sheathing provides a solid surface for your exterior siding and roofing.
Wall Sheathing: Use plywood or OSB (Oriented Strand Board) to cover the wall framing. This creates a flat, stable surface.
Roof Sheathing: Similar to the walls, use plywood or OSB to cover the rafters or trusses. Make sure it's properly nailed or screwed down.
Step 4: Siding - Adding the Finishing Touches
The siding not only protects your shed from the elements but also gives it its unique personality.
Vinyl Siding: This is a popular choice because it's durable, low-maintenance, and comes in a variety of colors.
Wood Siding: This offers a more traditional look and can be painted or stained to match your preferences.
Fiber Cement Siding: A durable and fire-resistant option that mimics the look of wood.
Step 5: Roofing - Keeping the Elements Out
The roof is the ultimate shield against rain, snow, and sun.
Asphalt Shingles: These are affordable and readily available, offering a classic roofing look.
Metal Roofing: Durable, long-lasting, and fire-resistant, but can be a bit more expensive.
Tile Roofing: A more elegant option that can add significant curb appeal, but also comes with a higher price tag.
Step 6: Windows and Doors - Bringing in the Light and Access
Windows: Provide natural light and ventilation. You can choose from various sizes, styles, and materials.
Doors: Choose a door that's durable and fits the intended use of your shed. Consider adding a lock for security.
Step 7: Interior Finishing - Creating a Usable Space
The interior finishing helps transform your shed into a functional and inviting space.
Insulation: Consider adding insulation to the walls and ceiling for better temperature control.
Drywall: This provides a smooth, clean surface for painting or adding wall coverings.
Flooring: Choose a flooring option that's durable and complements the shed's purpose. Options range from concrete to wood to vinyl.
Step 8: The Finishing Touches - Adding a Personal Touch
Paint or Stain: Give your shed a fresh look with a coat of paint or stain. Choose colors that complement your home and landscaping.
Lighting: Install interior and exterior lights for safety and convenience.
Ventilation: Add vents or fans to ensure proper airflow and prevent moisture buildup.
Don't Forget: Safety First
Power Tools: Always wear eye protection and follow the manufacturer's instructions for using power tools.
Cutting: Be aware of where you're cutting and ensure the work area is clear of obstructions.
Lifting: Ask for help with heavy objects and use proper lifting techniques.
Weather: Don't work on the shed in bad weather. Thunderstorms and high winds can be dangerous.
The Journey is Worth It
Building a shed might feel intimidating at first, but trust me, the process is rewarding. You'll learn new skills, get to be creative, and end up with a fantastic addition to your property.
Think about how you'll use your shed. Will it be a haven for your tools and lawnmower, a workshop for your hobbies, or a cozy retreat for a quiet moment? The possibilities are endless, and it's all within your reach! So grab your tools, put on your safety gear, and get ready for a fun DIY adventure. You've got this!
No comments:
Post a Comment
Note: Only a member of this blog may post a comment.